
New Classes! Sign up starts now!
Paper Art Studio
corinadfinley@gmail.com
Cards:
Wednesday October
22 - Cheery Lynn Cards #1
@ 6:30 pm - 9 pm w Cost:
$25.00
We will be
creating 4 cards that I have been designed and posted on the Cheery Lynn Design
Website.
Please bring all required tools to class.
Thank you.
Wednesday November 5 - Interactive Vintage
Christmas Cards
@ 6:30 pm - 9
pm w Cost: $25.00

I love
Interactive Cards! I enjoy giving cards that have something extra! I will be
teaching 4 "vintage style" Christmas cards.
Please bring all required tools to class.
Thank you.
Monday November 17 - Interactive
Snowflake Holiday Card Class
@ 6:30 pm - 9
pm w Cost: $25.00
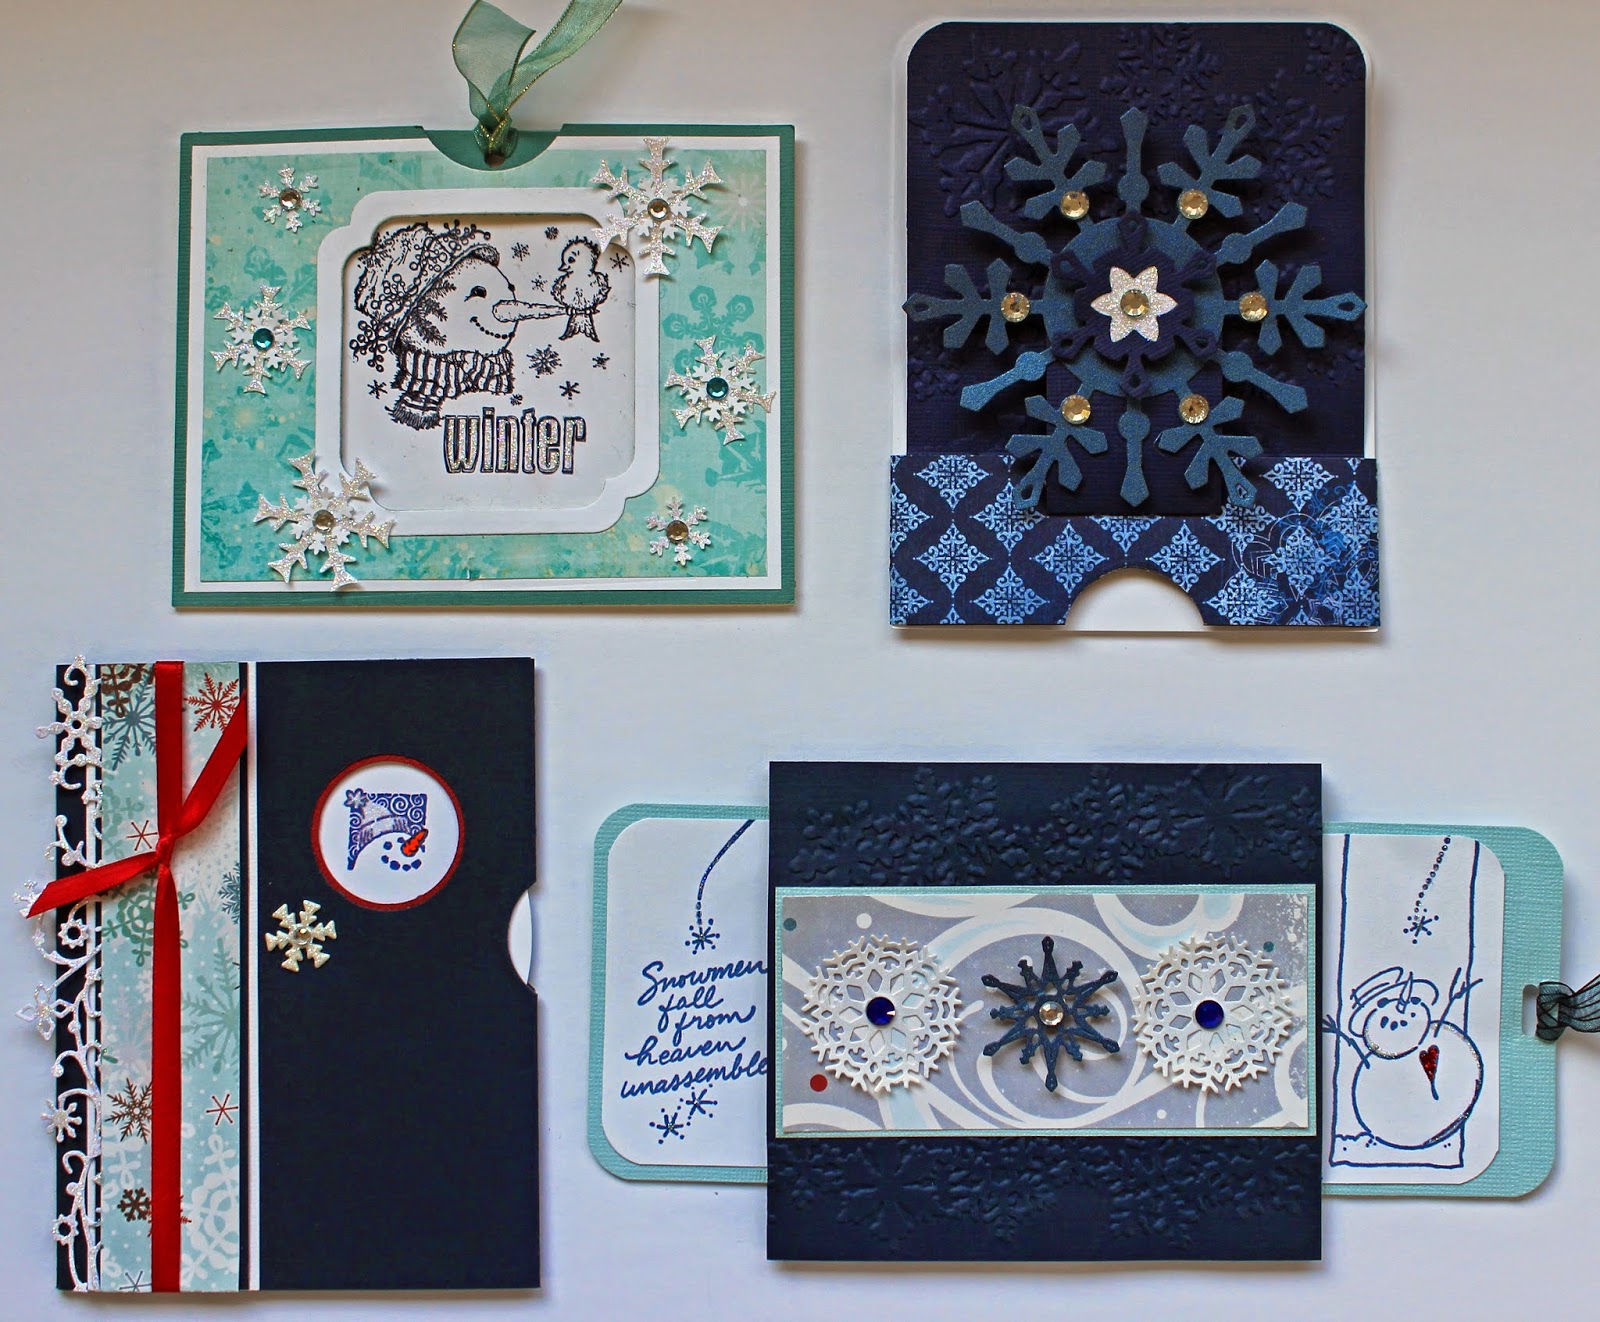
You will create 4
interactive cards with a holiday snowflakes theme. We will be adding a little
glitter and frost for a festive look!
Please bring all required tools to class.
Thank you.
Wednesday
November 26 - Interactive Christmas Card Class
@ 6:30 pm - 9 pm w Cost:
$25.00
Join me as we
will be creating 4 Interactive Christmas cards sure to please any recipient
during the holiday season.
Please bring all required tools to class.
Thank you.
Mini Albums & Altered Art
Sunday November 2 - Be Merry Holiday Mini Album
@ 12 noon - 5 pm w Cost: $45.00

This 9 x 6 cheerful Holiday Album has room for over 40 + pictures which includes pockets and flip outs. We will be using a variety of paper and mediums to create this album and it has a belly band closure to hold your album closed!
Please bring all required tools to class.
Thank you.
Sunday
November 30 - Merry Picture Frame
@ 12:00
pm - 4:30 pm w Cost: $40.00

Make this wonderful keepsake where you can display your holiday pictures. The wooden frame can be customized to fit up to 11 pictures. Remember it could be a great gift for a family member or a friend!
Please bring all required tools to class.
Thank you.
Scrapbook Layouts
Wednesday October
29 - Autumn Layout
@ 6:30 pm - 9
pm Cost: $30.00
You will be
creating a four Page Layout with a "Project Life" twist. You will
have room for 25+ pictures.
Please bring all required tools to class.
Thank you.
Wednesday November 12
- Double Page Layout
@ 6:30 pm - 9
pm Cost: $25.00

You will be
creating a Double Page Layout that has space for up to 11 pictures! We will be
using a paper line and embellishments from Kaiser Craft.
Please bring all required tools to class.
Thank you.
w w w w w w ww w w w w w w w
PLEASE NOTE:
When you sign up for any class at Paper Arts Studio you are agreeing to part take part and/or pay for the class on the schedule day and time. You are able to cancel with no fee if MORE than 72 Hours is given (a full refund will be issued or not owing). If the instructor needs to cancel, you will receive a full refund and/or rescheduled to another date.
Required Tools Checklist:
·
Paper Trimmer
|
·
Paper Piercer
|
·
Scissors
|
·
Brown Ink Pad (for
distressing)
|
·
Craft Mat
|
·
Ink Blending Tool
|
·
Bone Folder
|
·
Stylus
|
·
Scor-pal (Score
Board)
|
·
Adhesive (all):
Sookwang (double sided tape) 5mm, Liquid Glue (Glossy Accents), Pop Dots,
Tape runner and Glue dots
|


