Thursday, March 31, 2016

Love ya Bunches!

Hello!

Thank you for joining me today for my inspiration card that I have created for the Cheery Lynn Designs Challenge - Back to Nature (add a butterfly, dragonfly, hummingbird, etc).

This weeks card is a clean and simple card featuring a stamped and embossed image that I coloured using distress inks and a water pen. I then used the coordinating stackers dies to create my layers of the card.

I added my sentiment on the sentiment frame, a large and small hummingbird that I also coloured with distress inks. 


Dies used:


I hope you will play along in our Cheery Lynn Designs ChallengeYou could win a $20 shopping spree at the online Cheery Lynn Designs store.

Thank you for joining me today!
Take care,
Live, Laugh & Create

Thursday, March 24, 2016

Cheery Lynn Designs Blog Hop featuring IOE Embossing Plates


Hello! 

I hope you are enjoying the blog hop for the new Inside Out Embossing I.O.E Plates. Today, my goal is to give you  information on this cool product and of course some inspiration!

You should have just came from Amy's blog (www.amyvoorthuis.blogspot.com/but any way you came here is absolutely okay with me!

*Just in case you got lost along the way, this link takes you back to the beginning!
Cheery Lynn Designs Blog: cheerylynndesigns.blogspot.com/


In the picture above, on the left is the Frame It embossing folder and on the right is the Inside Out Embossing Plates that comes as a set of nine. By using the Inside Out Embossing Plate with the Frame It Embossing Folder, either as individual frames or in a combination, it allows you to create 31 different combinations!

You also can use the I.O.E (Inside Out Embossing Plates) with other name brand embossing folders. I plan to use my Cuttlebug Damask embossing folder with the I.O.E to selectively emboss areas around my sentiment to create striking yet simple Thank You cards.


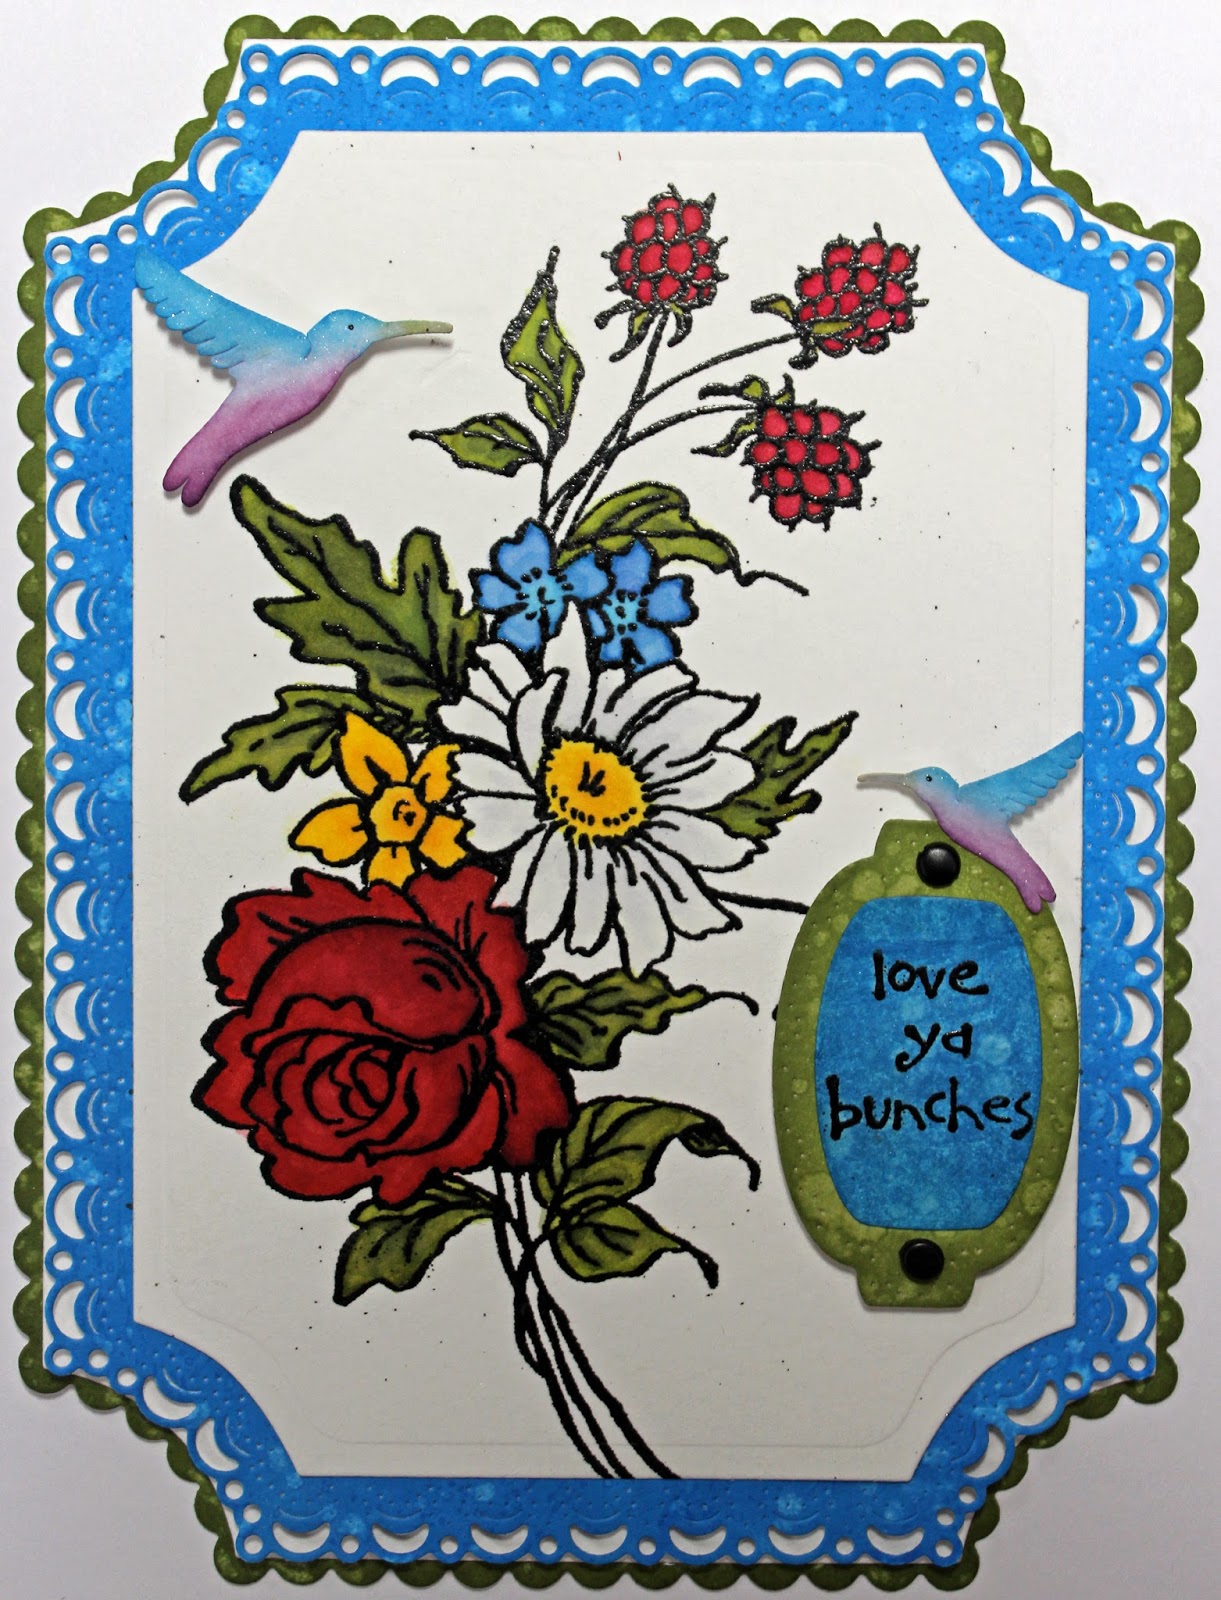
As you can see in the picture above, I decided to selectively emboss only one area using an individual frame. The embossed pattern of the embossing folder will only appear where the pressure is applied. The result of the one area being embossed is on the right side. I used ink to highlight the embossed area.


I really liked the outside border detail of the Frame It Embossing folder so I decided to add it to the bottom of my card for detail.

You are going here next: Bonnie: www.maketime2craft.com/

Remember that the I.O.E can be purchased from Cheery Lynn Designs by going to the website.  Also don't forget to comment on the Cheery Lynn Blog at the end, as there will be a random draw for a $20 Gift Certificate!

Thank you for joining me today!
Take care,
Live, Laugh & Create

Friday, March 18, 2016

Vintage Hoppy Easter Card

Hello,

Thank you for joining me, Corina, for my blog post showcasing my Vintage Easter Bunny Card. 

To start my card, I embossed Kraft cardstock for the base and center square using a Cuttlebug embossing folder. I applied an Archival Ink pad in Coffee Colour direct to paper, hitting the raised embossed areas. I wanted a Shabby Chic look so I applied the ink heavily not worrying about the ink colouring the non embossed area. 

I used my sewing machine to sew around the border of the base, Burlap layer, and center square. I love the added touch that the sewn stitches give cards. A group of three flowers, a piece of lace, and twine adorn the left corner.

I applied Aged Ivory Embossing Enamel to the Vintage Oval Mirror Fancy and heat set to give a vintage look. The grass was cut using a Cheery Lynn Designs Grass Border die. I over lapped using two different green tones and laid them inside the bottom of the Vintage Oval Mirror Fancy.

I used one chipboard bunny from the Lg Bunnies set and he is nestled into the grass, as a focal point in the center of the Oval Mirror Frame. I covered the entire Bunny with Be Creative double sided tape, sprinkled bronze glitter and burnished. I added one sentiment tag from the Easter wood tags to the bottom of the Oval Mirror Frame. I cut the loop off the left side of the Hoppy Easter tag with scissors and edged with vintage Photo Distress Ink. Added Wink of Stella Clear Glitter and Star Dust pen to the top to give a shimmer.
Southern Ridge Chipboard used:

Easter wood tags

Lg Bunnies

Remember to play along in the monthly challenge over on the Southern Ridge Trading Company blogEach month enter for your chance to win 4 designs from the online store - chipboard.ca -$20 (before tax) retail value of YOUR OWN CHOOSING! 

Thanks for joining me today!

Take care,
Corina Finley

Live, Laugh & Create!

Thursday, March 17, 2016

Enjoy the Moment Card

Hello!

Welcome back to my blog for my weekly card inspiration for Cheery Lynn Designs. This week there is a new challenge on the Cheery Lynn Designs Blog - Anything Goes! And because anything goes, I decided to use this cute stamp of a Bunny enjoying a little R&R. The Easter Bunny needs as much rest before his big day! 
I know I have said it a lot of times, creating depth and layers is so easy with Cheery Lynn Design stacker dies. I just got the card layer die set with the Fleur De Lis design - Fleur De Lis A2 Card and I wanted to try them out. I only used two but the set comes with 8 dies and you are able to create multiple combinations. 
B701 - Fleur De Lis A2 Card Facer


Dies used:

I hope you will play along in our Cheery Lynn Designs ChallengeYou could win a $20 shopping spree at the online Cheery Lynn Designs store.

Thank you for joining me today!
Take care,
Live, Laugh & Create

Thursday, March 10, 2016

Now is the Right Time Card!


Hello!

Hope you are having a great week and have had some time to be creative! I wanted to share with you a card that I created using a stamp set that I purchased awhile ago but did not get a chance to play with!
I stamped my image on watercolour paper with VersaFine Onyx Black Ink and embossed with Super Fine Black embossing powder. Heat set and used Ink sprays to colour the panel and one matte. I cut two mattes from black cardstock using the Rectangle Stitch and Cut die. I layered the four together and used one die from the Deutschland Border Set to add detail.


For my floral arrangement, I used two floral dies from the CRAFTY-ANN Collection.
Flower and Chrysanthemum were both inked with vintage photo distress ink, added a flower center to each and dipped the tips of the centers in black glitter. I also cut the medium Tea Rose flower, foliage and flourish accents from white cardstock and inked.


I wanted to add focal interest to the top left corner, so I decided to add a couple of tags, flourish accents and a small flower for more detail and layers. Used copper mini brads to attach my sentiment and added some small black rhinestones.


Dies Used:

I hope you will play along in our Cheery Lynn Designs ChallengeYou could win a $20 shopping spree at the online Cheery Lynn Designs store.

Thanks for joining me today!

Take care,

Live, Laugh & Create!

Thursday, March 3, 2016

Coffee Card


Hello and thank you for joining me! Today I wanted to share a card created with my most favourite beverages in mind....Coffee! 

Image result for coffee sayings

I hope this card gives you inspiration for the Cheery Lynn Designs Doily Challenge. I have used a Doily as a border, background for my stamped tag, and added to the flower. I have even added a coffee bean to the center of the flower.


Cheery Lynn Dies Used:

I hope you will play along in our Cheery Lynn Designs ChallengeYou could win a $20 shopping spree at the online Cheery Lynn Designs store.

Thanks for joining me today!

Take care,

Live, Laugh & Create!

Tuesday, March 1, 2016

Love Layout


Happy 1st of March Everyone!

For today's post, I have created a page layout using paper from BoBunny and the wonderful detailed Southern Ridge Chipboard.

On this layout, I have used four different Southern Ridge chipboard pieces. For the Clock, I kept it simple and added Black Soot Distress Paint to the top and let dry. For the other three, I altered the chipboard pieces by using distress paint as a base colour and adding embossing powder when it is still a little wet. The embossing powder sticks only in some spots giving it a non perfect coverage. I heat set my type & colour of choice embossing powder and the result is a shabby/worn look.


The BoBunny Line that I have used is called Juliet. I have used the paper named Juliet for the base and have cut out and sewn number pieces from the Abundance sheet to the base. I used black corrugated cardstock and the back side (blue) of the Full house sheet to matte my photo. I added a stitched border to the photo matte. The Cards from the Full House sheet and flowers from the Milan sheet were fussy cut and tucked in to create layers. 

Southern Ridge Chipboard used:

Scroll Borders


Remember to play along in the monthly challenge over on the Southern Ridge Trading Company blogEach month enter for your chance to win 4 designs from the online store - chipboard.ca -$20 (before tax) retail value of YOUR OWN CHOOSING! 

Thanks for joining me today!

Take care,
Corina Finley

Live, Laugh & Create!